Tape Editor
- Pro
The Tape Editor opens a tape from your OP-1 Field on your computer and shows all four tracks on a timeline. You can lift, drop, split and splice takes, record new parts, then save a tape folder the Field can load. It also opens TP-7 multitrack recordings (in beta) and saves tapes for the original OP-1.
The Tape Editor is part of Pro. It’s included in the 14-day trial.
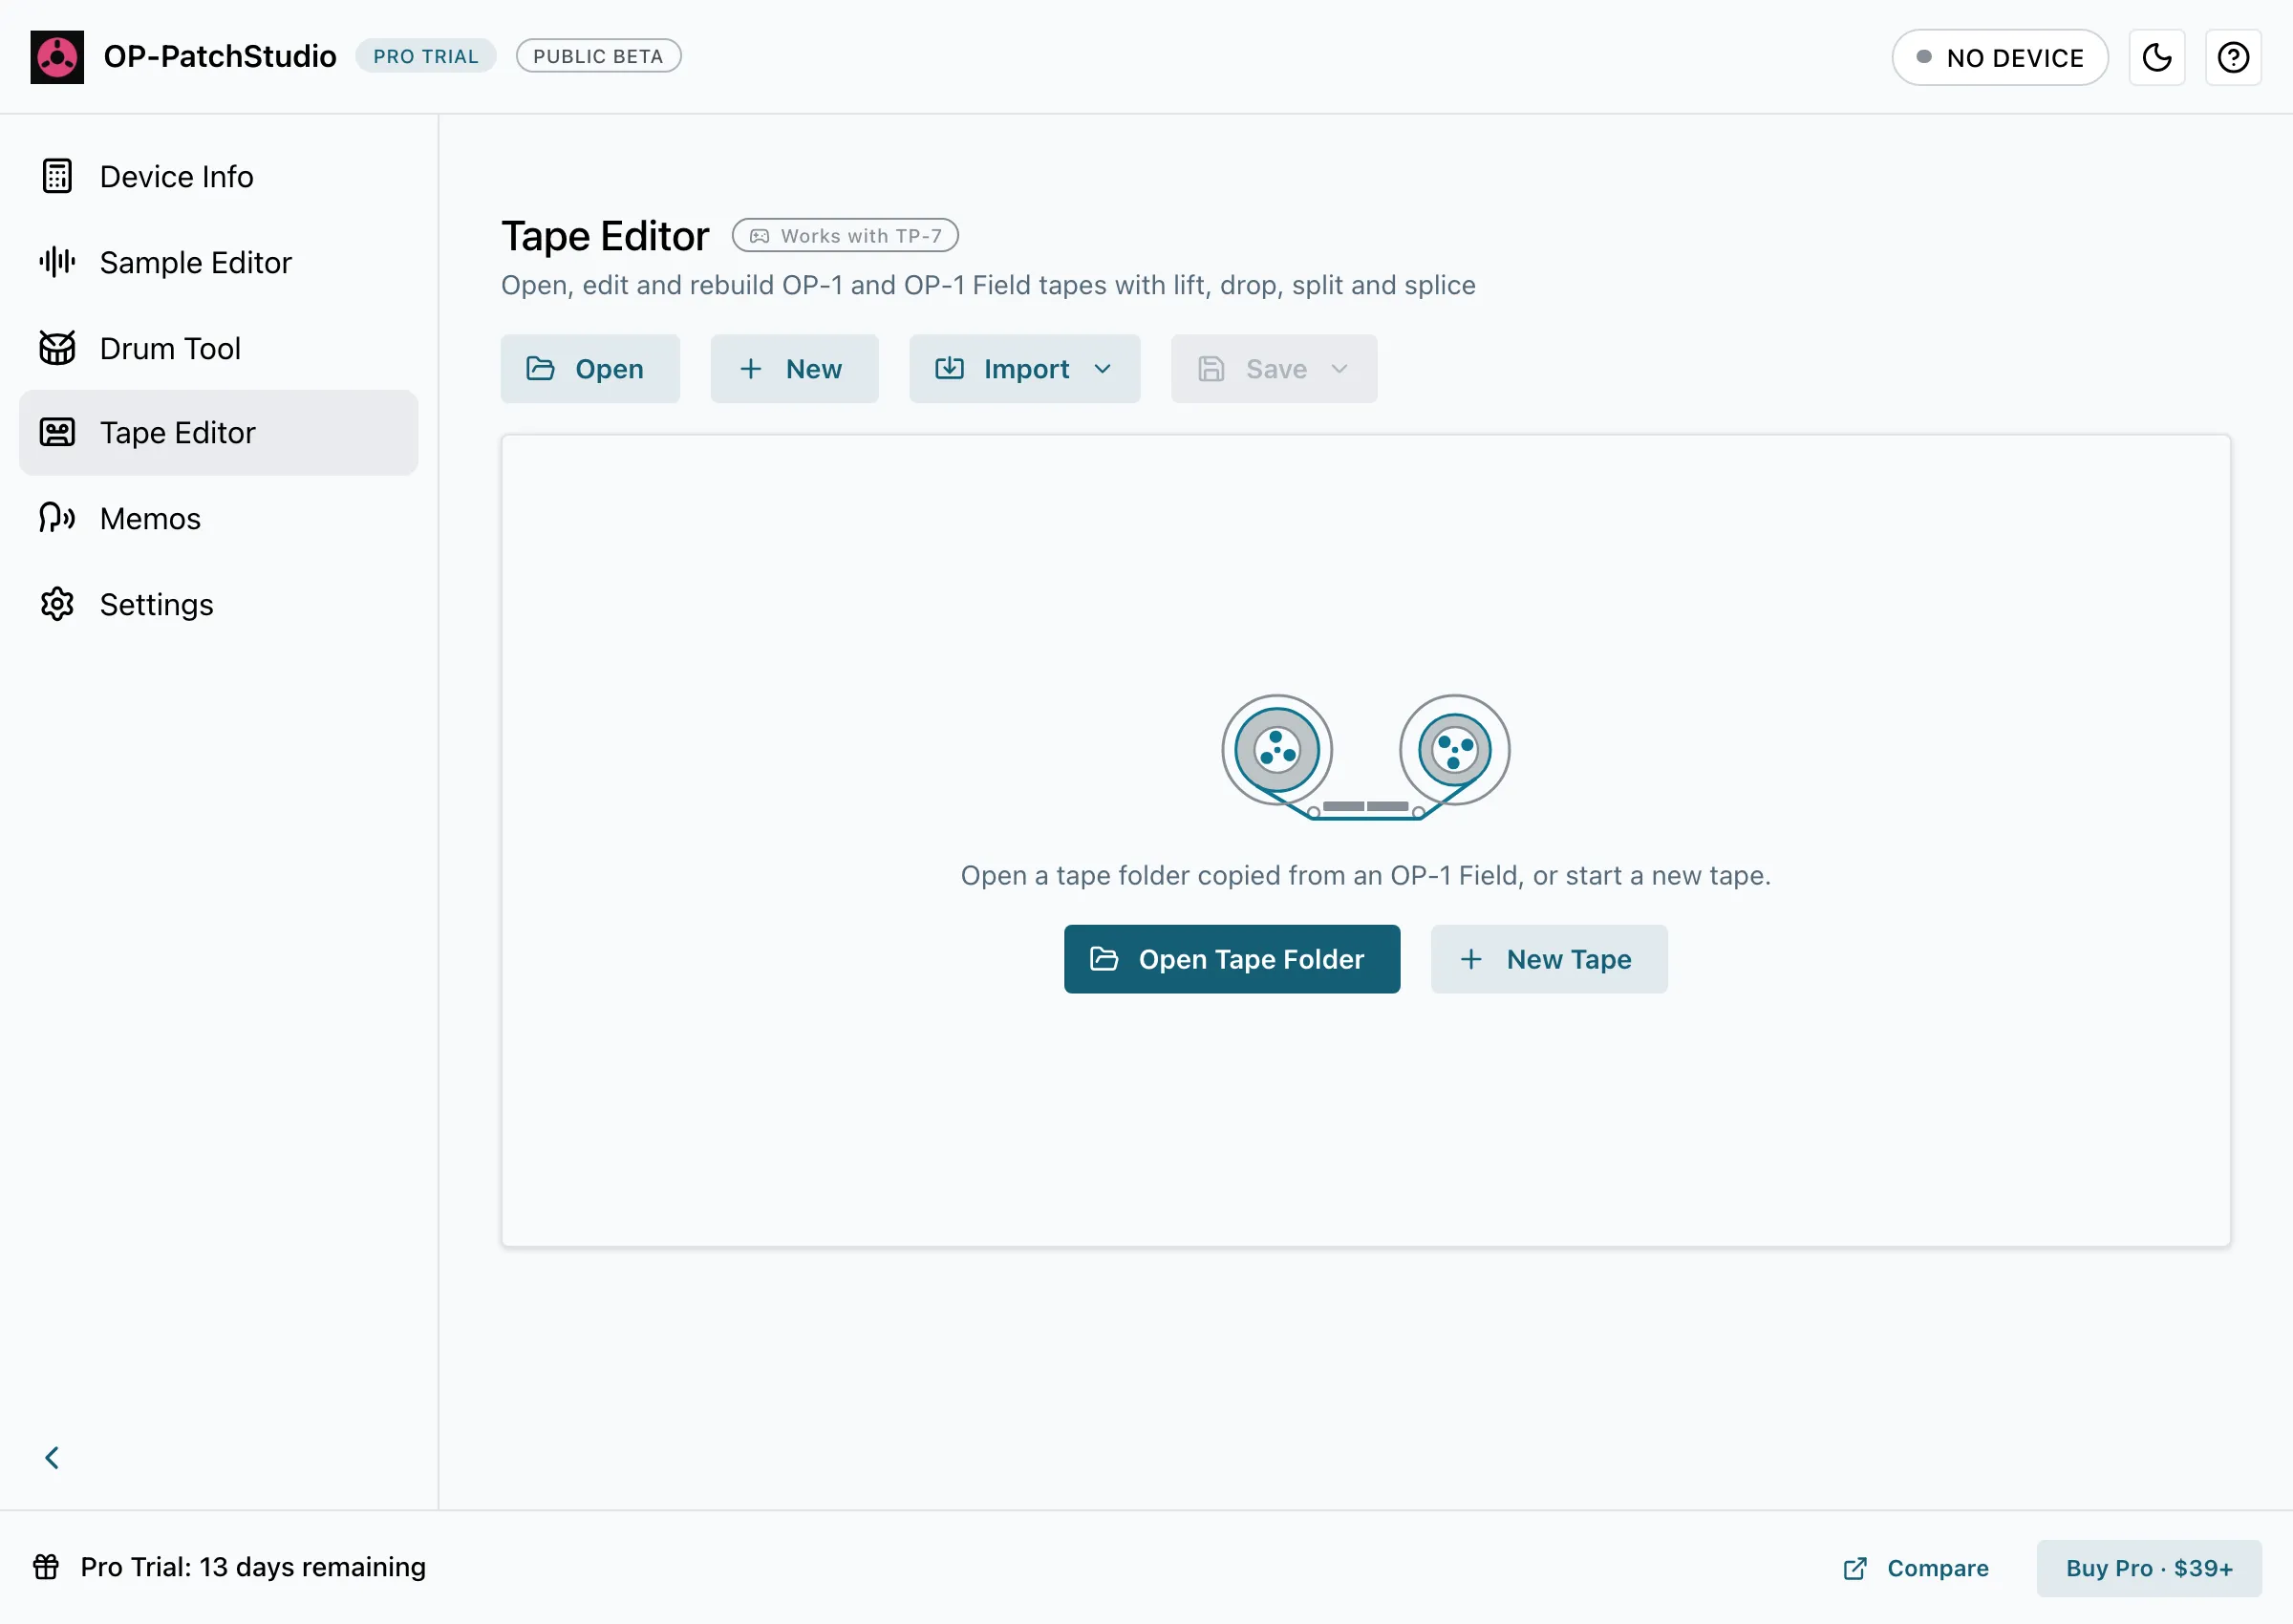
Open a Tape
Section titled “Open a Tape”First copy the tape folder off your Field (Copying to Your Device covers how). Then:
- Open Tape Editor and select Open Tape Folder.
- In the Open Tape window, select Open Tape Folder again and pick the tape’s folder.
For a TP-7 recording, select Open, then Open TP-7 Multitrack and pick the WAV.
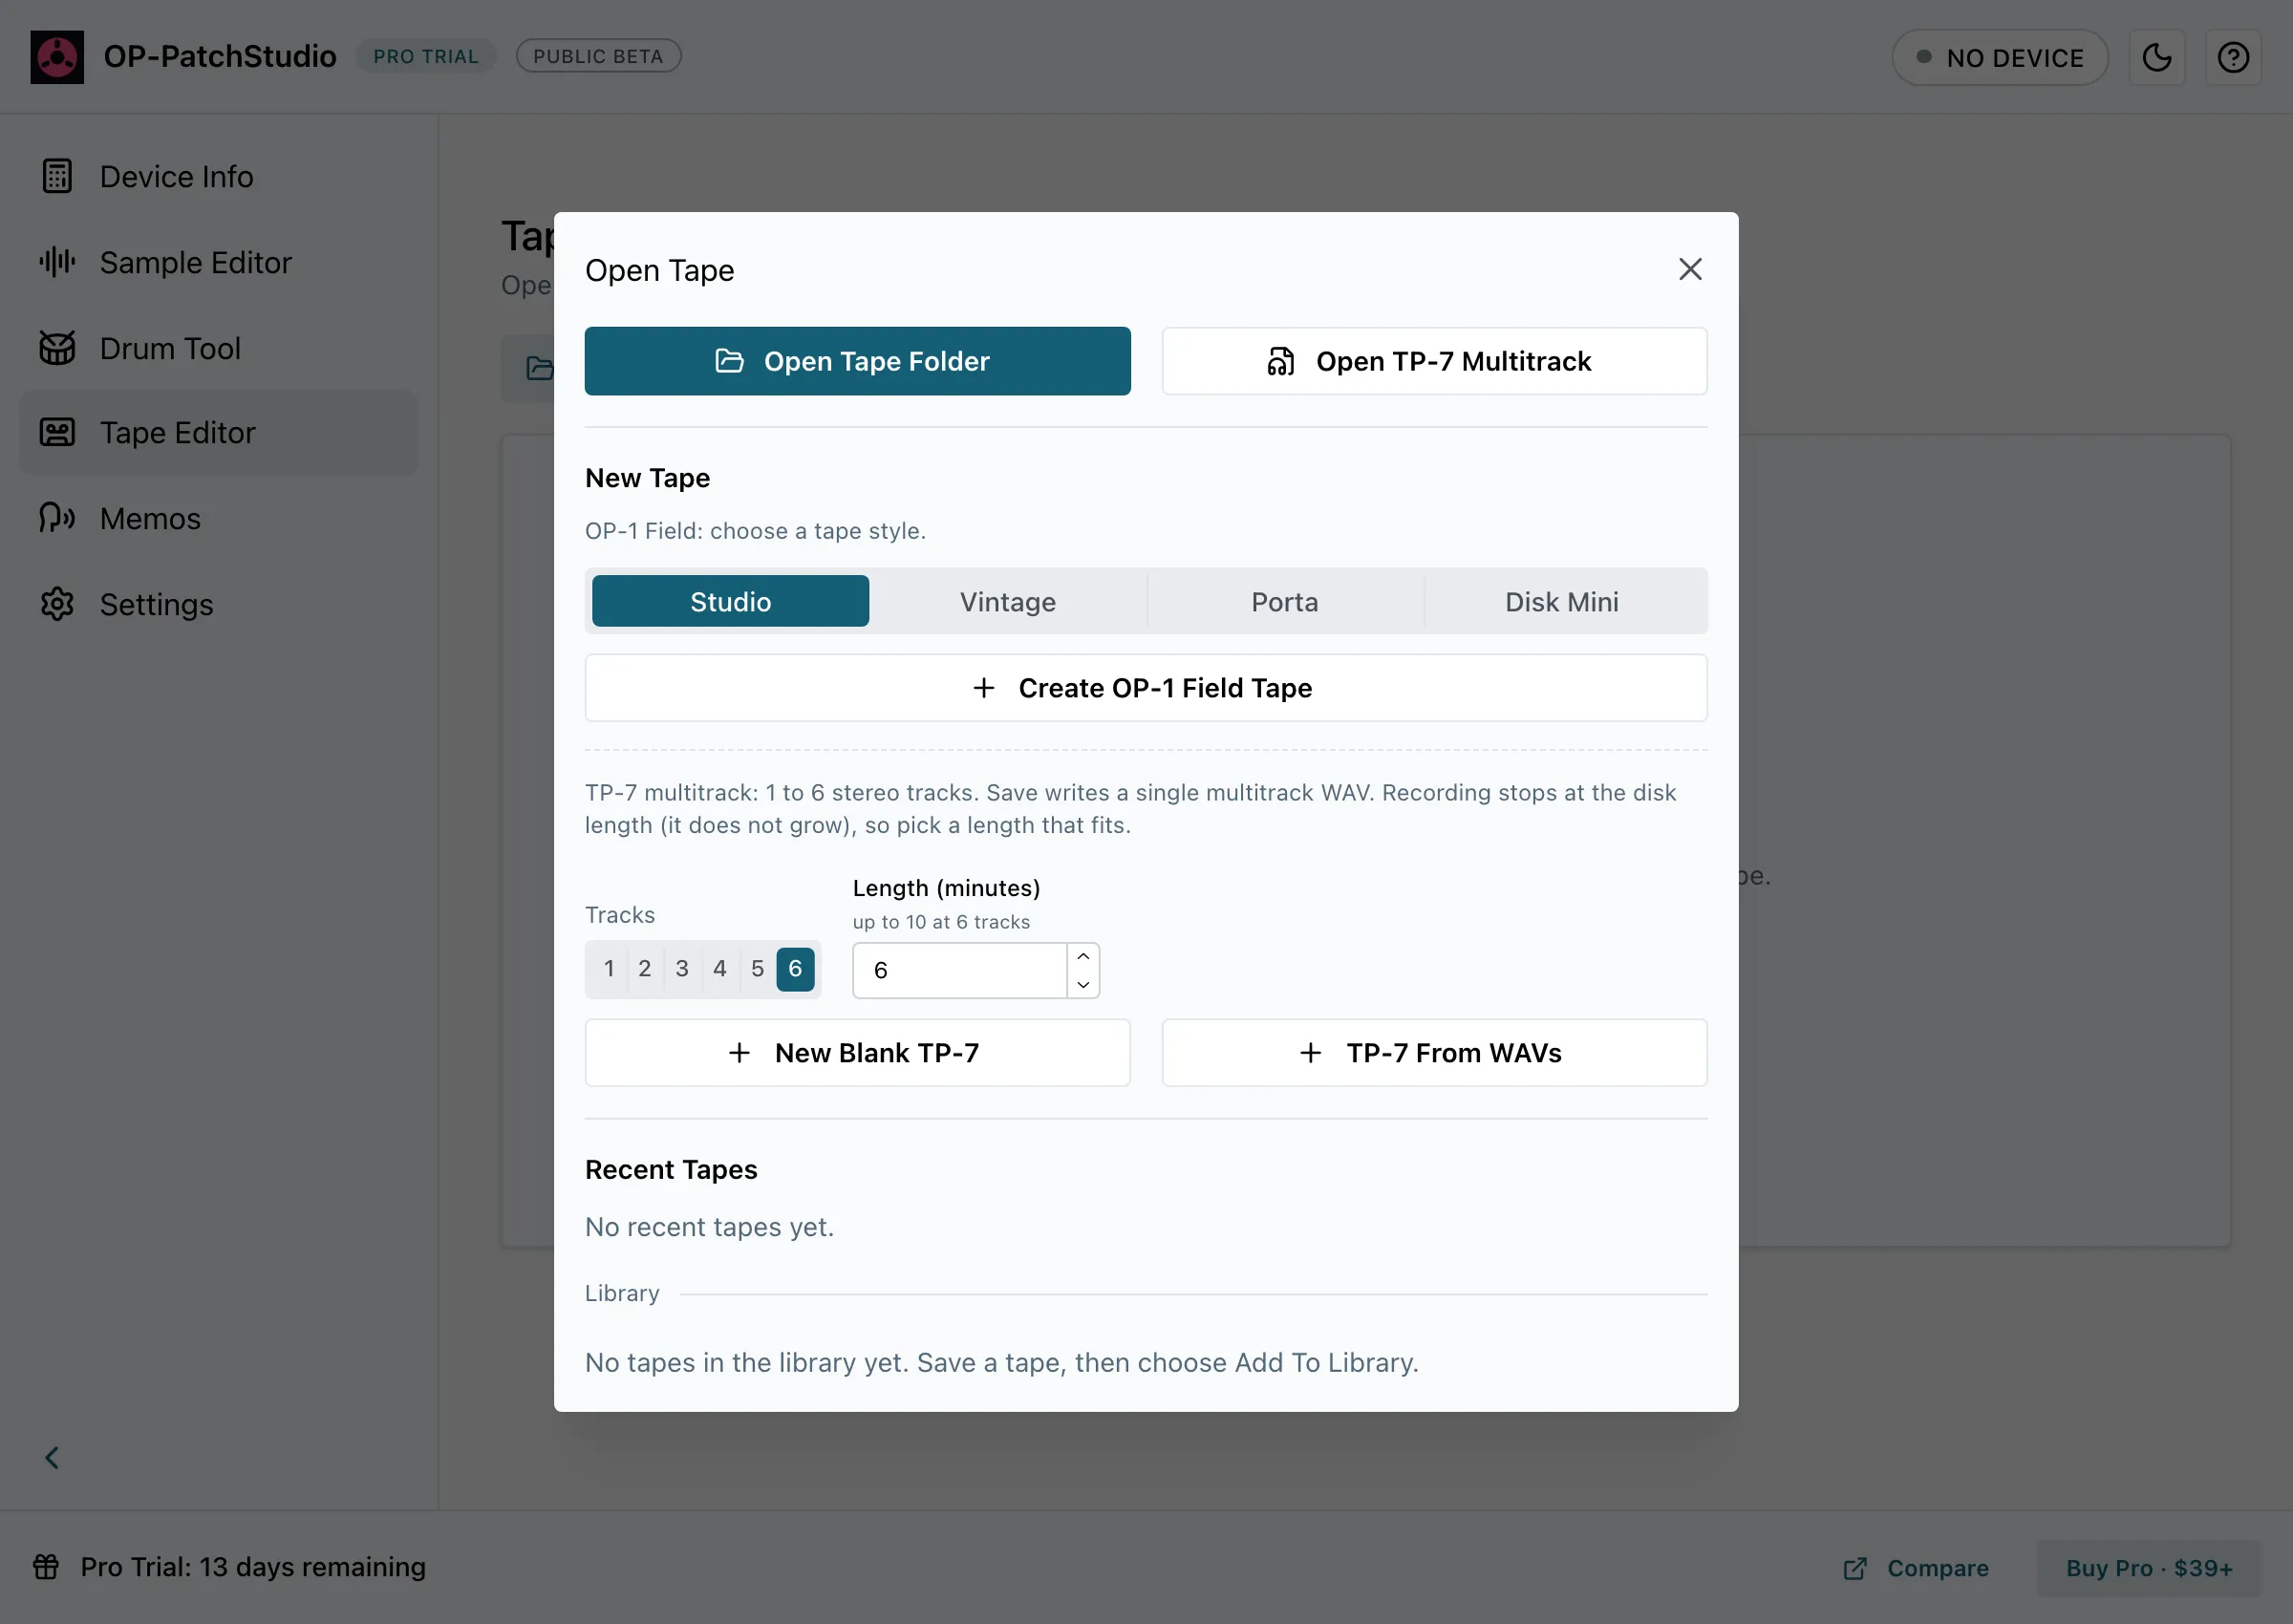
The same window lists your Recent Tapes and your Library (tapes you’ve added with Add To Library).
Start a New Tape
Section titled “Start a New Tape”- OP-1 Field: pick a tape style (Studio, Vintage, Porta or Disk Mini) and select Create OP-1 Field Tape. You get four tracks of six minutes.
- TP-7: choose 1 to 6 stereo tracks and a length, then select New Blank TP-7. More tracks means a shorter maximum length (about 10 minutes at six tracks). Or select TP-7 From WAVs to build one from up to six stereo WAVs, one per track.
Bring In Audio
Section titled “Bring In Audio”The Import menu puts an audio file onto the selected track (Import Audio Onto Track), or
builds a new tape from WAVs (Import WAVs As New Tape). Files named track_1.wav to
track_4.wav land on the matching track. You can also drag a file straight onto a track.
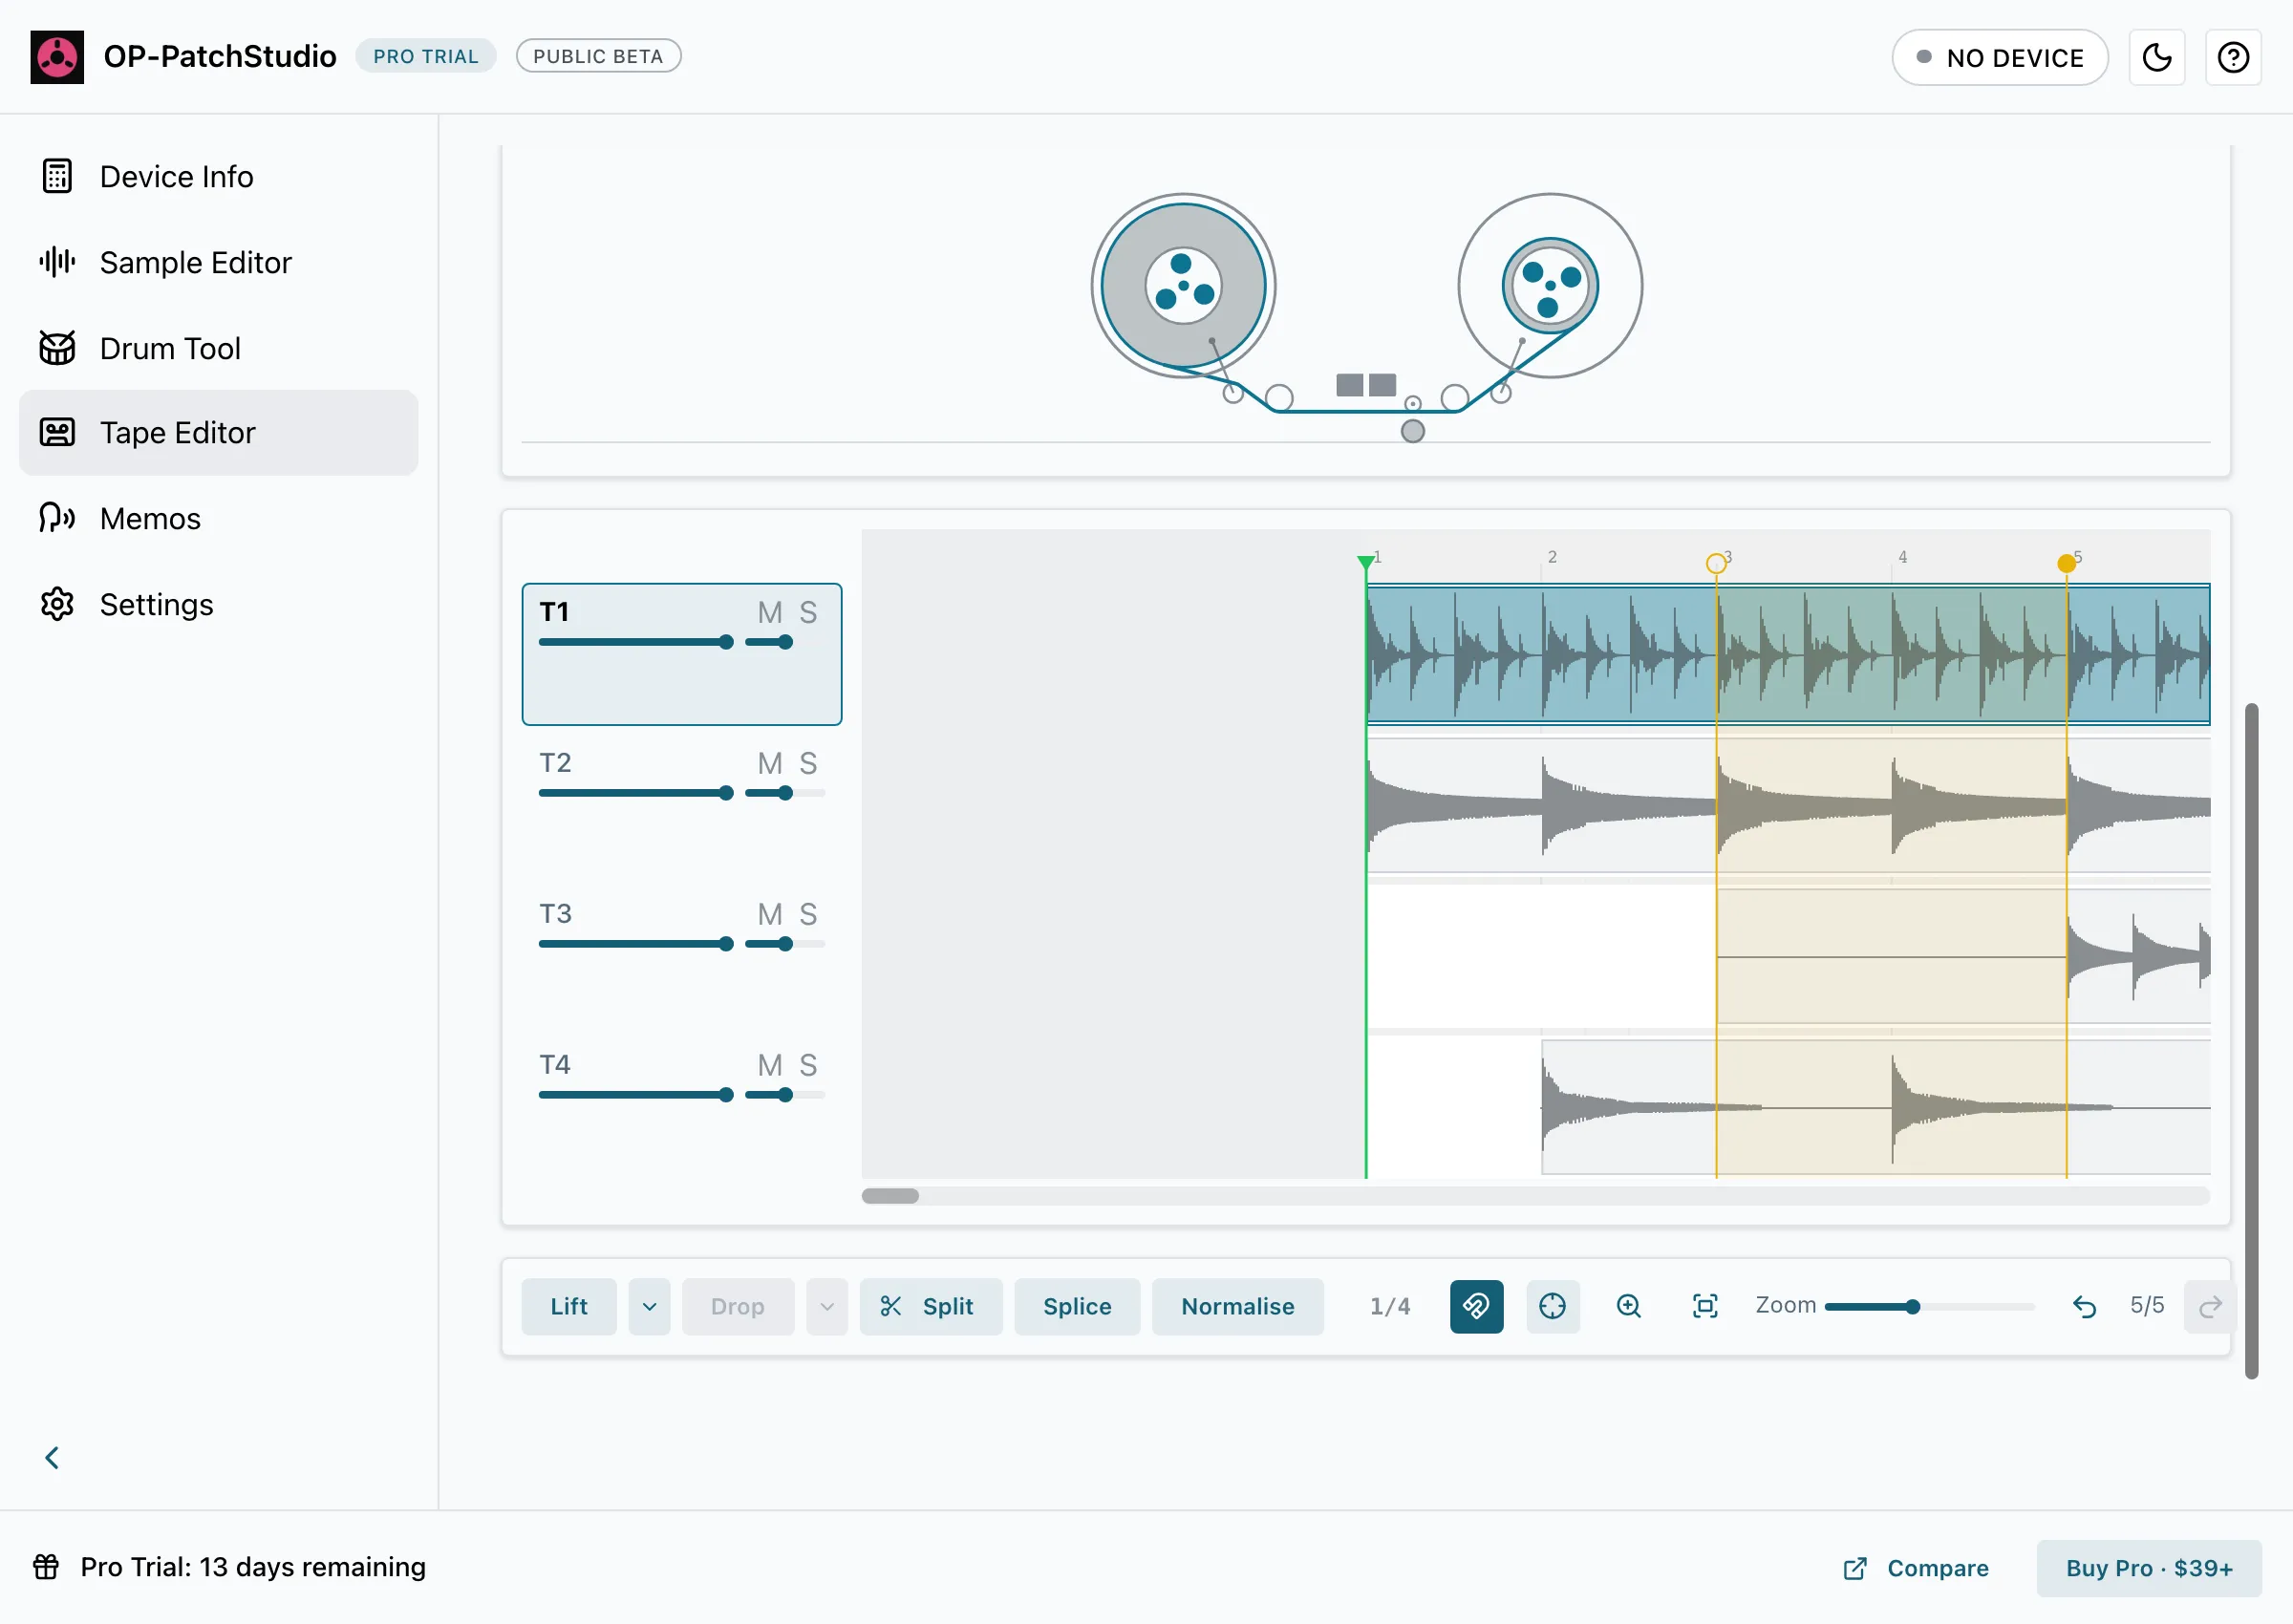
Select a track with 1 to 4 (up to 6 for a TP-7), move the playhead, then:
| Tool | Key | What it does |
|---|---|---|
| Lift | X | Lifts the take under the playhead off the track |
| Lift loop | Shift+X | Lifts the loop range from every track |
| Drop | V | Drops what you lifted at the playhead |
| Merge drop | Shift+V | Drops it mixed into what’s already on the track |
| Split | S | Splits the take at the playhead |
| Splice | J | Joins takes across a small gap at the playhead |
| Normalise | Brings the selected track up to full level | |
| Delete | Delete or Backspace | Removes the selection |
| Undo and redo | Cmd+Z and Cmd+Shift+Z | On Windows and Linux, use Ctrl |
You can also drag takes along a track. Undo puts the audio back exactly as it was, and a tape you save without changes comes out identical to the one you opened.
Timing tools:
- Loop: set Loop In and Loop Out with Shift+1 and Shift+2, and turn looping on or off with Shift+3.
- Snap to beats: takes snap to the beat grid. Hold Alt to move freely. G changes the grid from whole bars down to 1/16.
- Zoom: = and -, or Zoom To Loop and Zoom To Recorded Tape.
Mix and Play
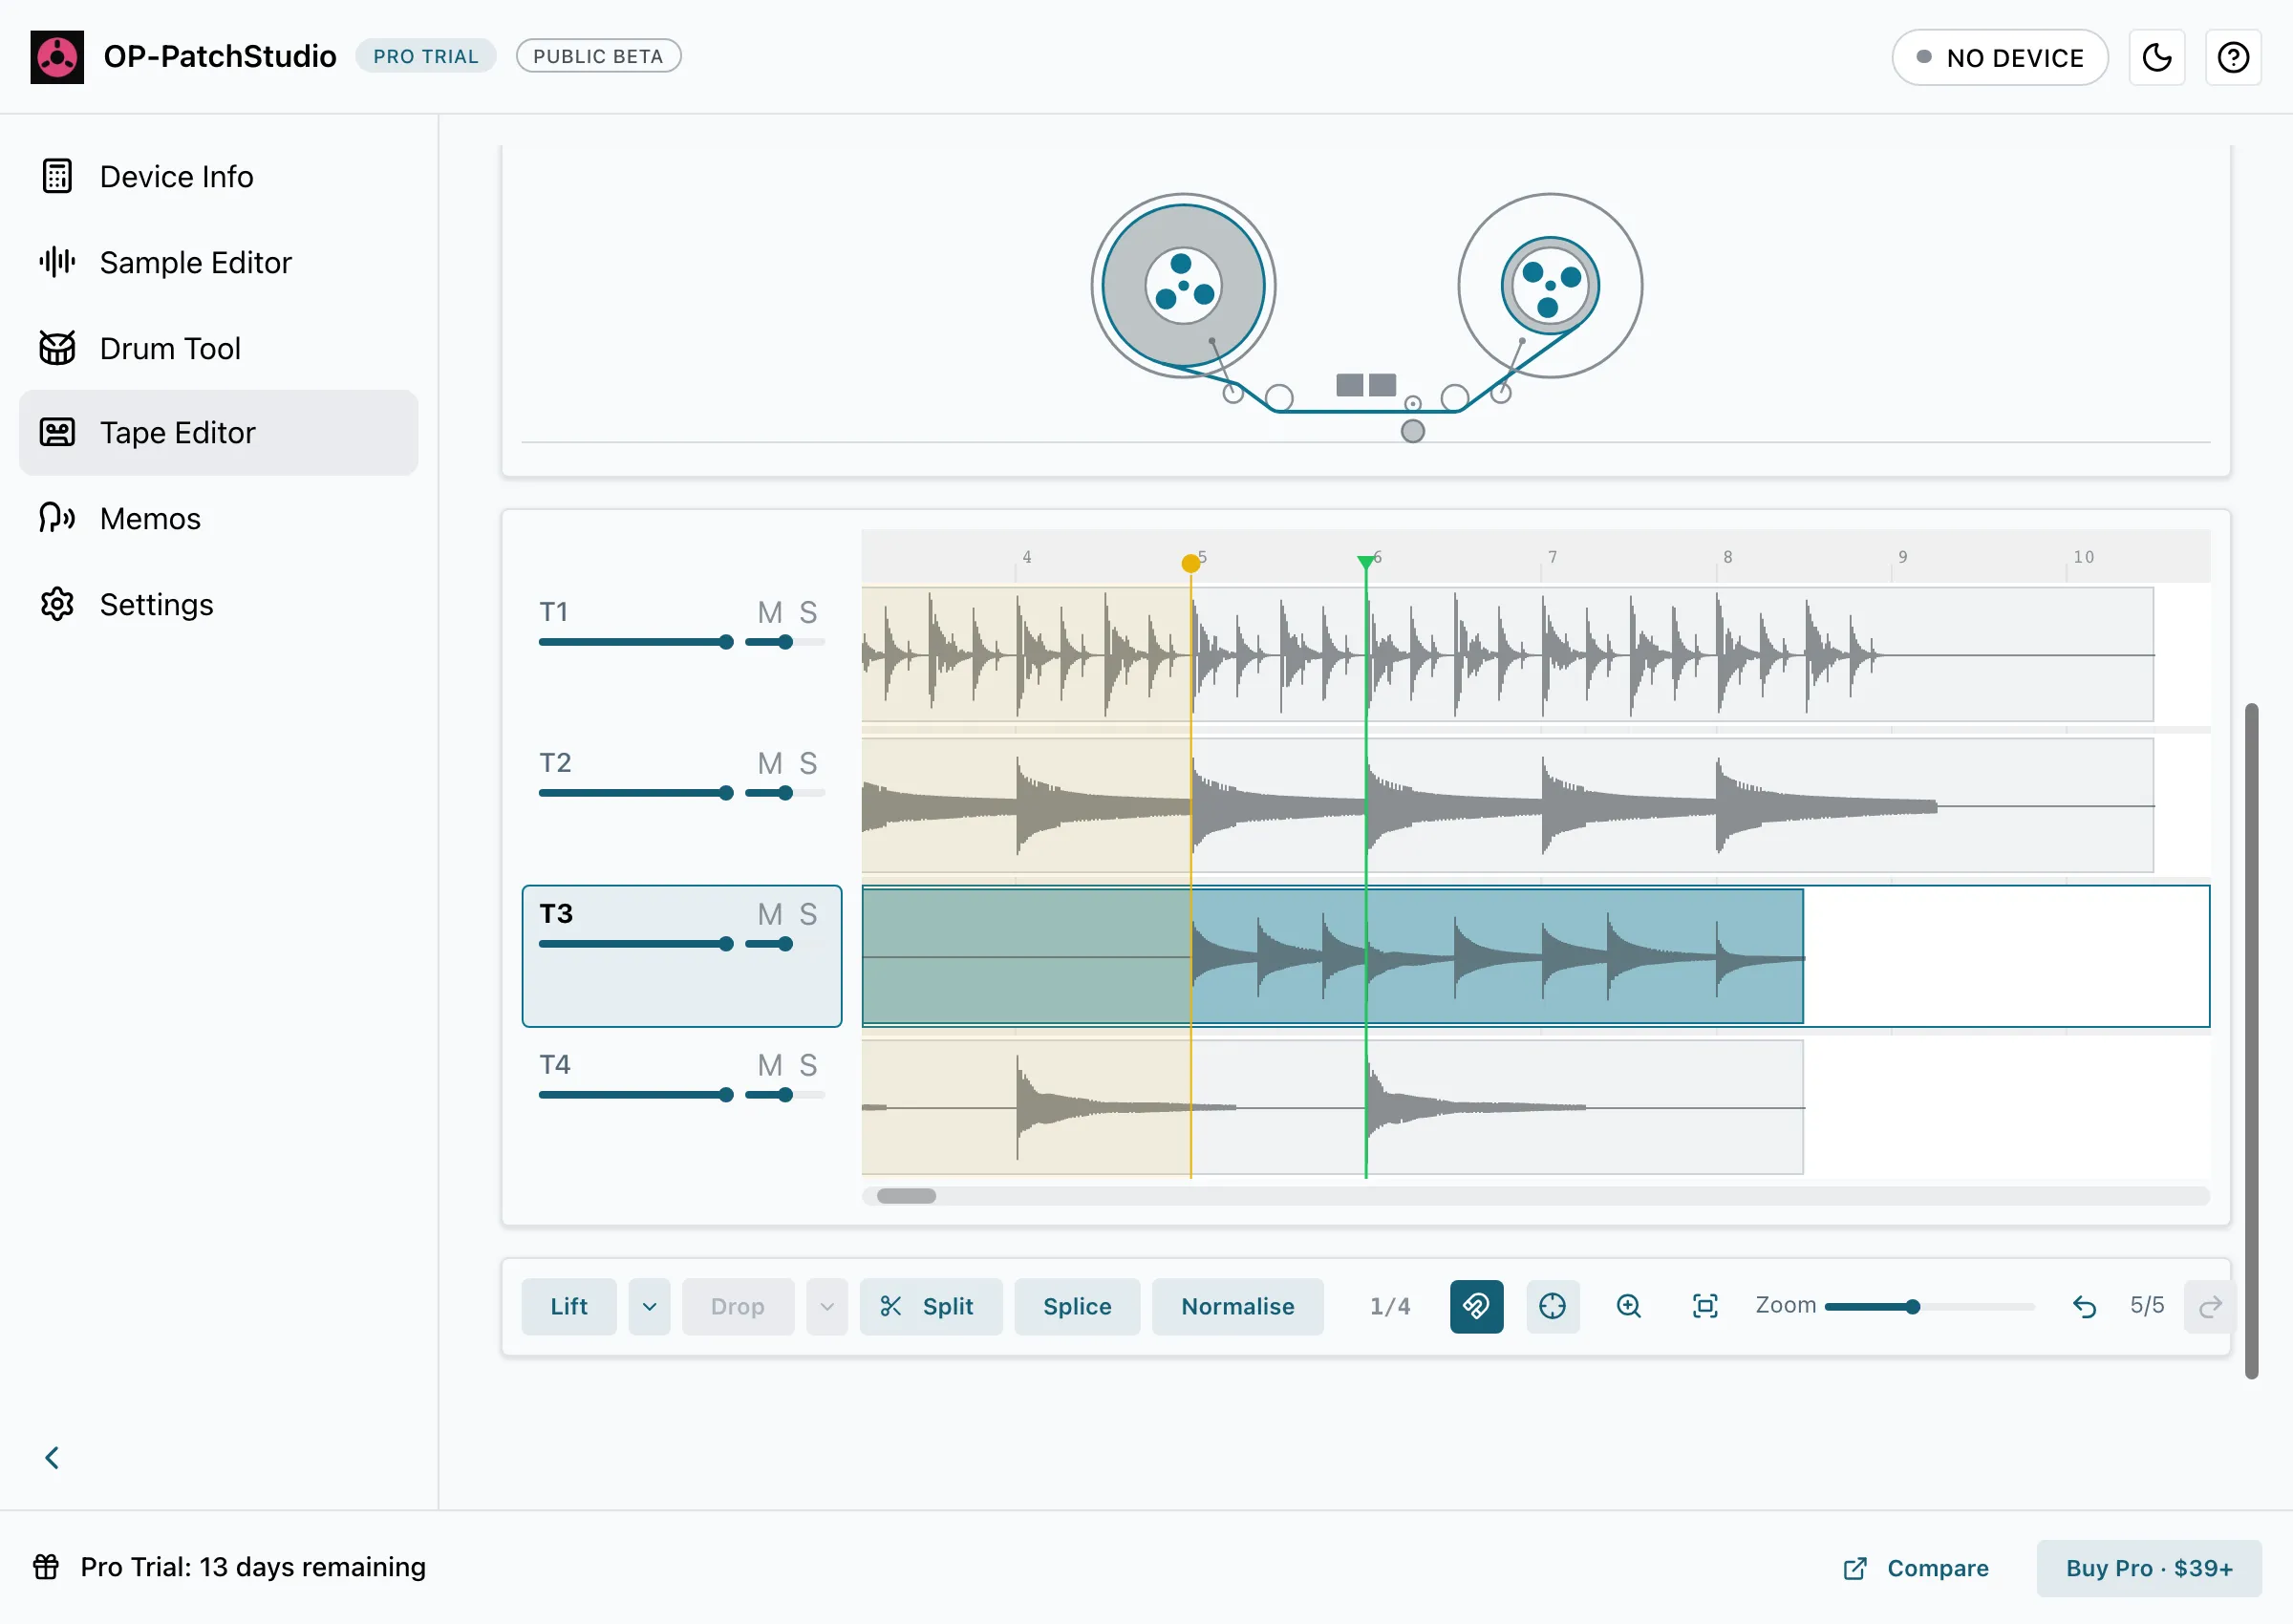
Section titled “Mix and Play”- Each track has a level fader, M (mute) and S (solo). From the keyboard, M mutes and O solos the selected track. (The S key is Split.)
- Space plays and pauses. Stop returns to Loop In when you press it again.
- Tape speed runs from 25% to 200%, and the pitch follows, as it does on the Field.
- Hold R to play in reverse and B for a tape brake.
- Tape Style changes the tape’s style setting only; the audio stays as it is. With Tape Character on, playback in the app sounds like the style, while the saved files stay clean.
- Tempo sets the beat grid. Use Tap to tap it in.
Record
Section titled “Record”- Select the track to record onto.
- Choose your input from the Recording Input menu next to the record button.
- Press Shift+R to arm recording, then play. If the tape is already playing, Shift+R punches in straight away.
Recording over existing audio overdubs it: the old audio stays and the new layer is added.
Open the Save menu:
- Save As New Tape: give it a name, choose a folder with Save Into, then pick a format:
- OP-1 Field Tape: a folder with
tape.jsonand a WAV per track. Trim tracks to recording length makes smaller files, the way firmware 1.7 exports them. - Original OP-1 Tape: AIFF files. Stereo becomes mono, and tempo, loop and mixer settings aren’t kept, because the original OP-1 doesn’t store them.
- TP-7 Multitrack: one 24-bit WAV with every track in it.
- OP-1 Field Tape: a folder with
- Overwrite saves over the tape you opened.
- Export Tracks As Stereo WAVs writes one 24-bit WAV per track, ready for your DAW. It never overwrites existing files.
- Add To Library keeps the tape one click away in the Open window.
Tape names can use letters, numbers, #, -, _ and spaces, the same characters the Field allows.
To copy a saved tape to your device, see Copying to Your Device.
Control the Tape Editor From a TP-7 or OP-1
Section titled “Control the Tape Editor From a TP-7 or OP-1”TP-7: switch on Drive the Tape Editor from a TP-7 in Settings > Preferences. Then put the TP-7 in MIDI controller mode: hold Mode, turn the reel to MIDI, press +, then turn to CTRL. The reel scrubs, and Up and Down change what it controls:
| Mode | Reel | - and + | Memo button |
|---|---|---|---|
| Scrub | Scrub | Select track | Drop a cue |
| Speed | Set speed | Nudge speed | Drop a cue |
| Mix | Track level | Select track | Mute track |
| Cue | Scrub | Previous/next cue | Drop a cue |
| Loop | Scrub | Move loop | Loop on/off |
| Zoom | Zoom | Select track | Drop a cue |
Play, stop and record work as transport buttons, and the rocker fast-forwards and rewinds.
OP-1: hold shift and com, then press T2. Encoder 1 scrubs, 2 zooms, 3 sets the speed and 4 sets the selected track’s level. T1 to T4 select a track, and play, stop and record drive the transport.
The Works with TP-7 (Beta) badge in the header opens a reference of these controls.
TP-7 Recordings (Beta)
Section titled “TP-7 Recordings (Beta)”TP-7 support is in beta. You can edit multitrack recordings, add cue markers with C, set the tempo from your cues and drive the editor from the TP-7’s reel. For a TP-7 recording you’ve opened from a file, Transcribe sends the selected track to Memos. The recording itself isn’t changed.